
You can either watch the video below or read our step-by-step guide. (Video to be uploaded.)
This guide will walk you through two methods for connecting your Xero accounting software to AccountingBi
This method is ideal if you already have an AccountingBi account existing. Here's a step-by-step breakdown:
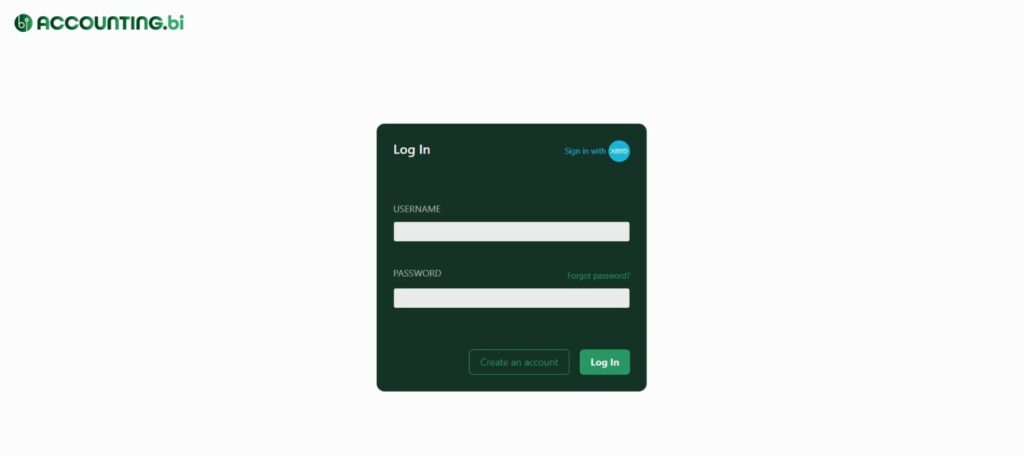
To begin, please click on the following link, https://app.accounting.bi/ to access the login page.
In the bottom left corner of the page, you'll find a button that says "Sign in with Xero." Click on this button.

Enter your Username and Password in the designated fields.

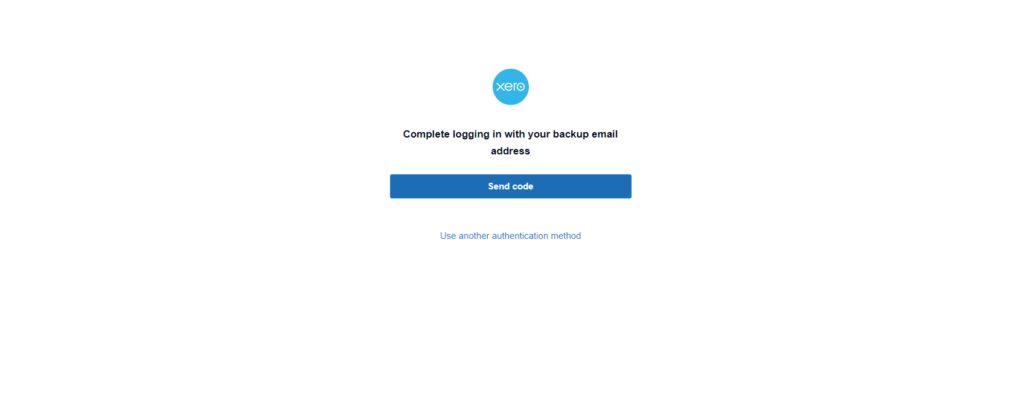
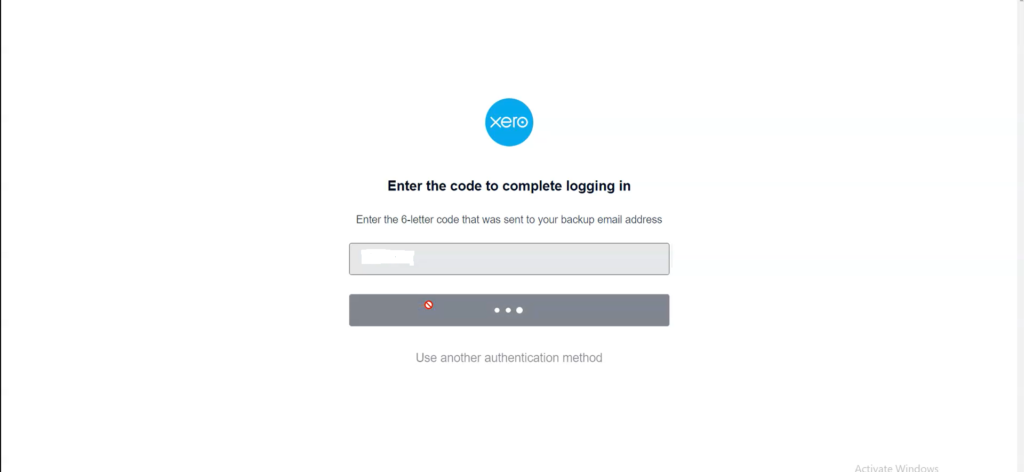
If you have two-step authentication enabled on your Xero account, you'll need to follow the additional verification steps provided by Xero.
This might involve entering a code sent to your phone, authenticator app or your backup email address.
Remember: AccountingBi allows you to connect multiple Xero organisations, but you will need to go through this process for each Xero organisation.
Follow these steps to create a new account and connect your Xero organization:
Open your web browser and visit the AccountingBi login page: https://app.accounting.bi/
Locate the section labelled "Sign Up with AccountingBi" and click on it.

Fill out the form with your desired user credentials in the designated fields. This typically includes your email address, username, company name, and password.
Once you've entered all your information, click the "Sign Up" button to complete the process of creating your new AccountingBi account.
Here's how to connect your Xero organization after creating a new AccountingBi account:
After successfully creating your account, click the "Back to Login" button to be able to login for the first time.

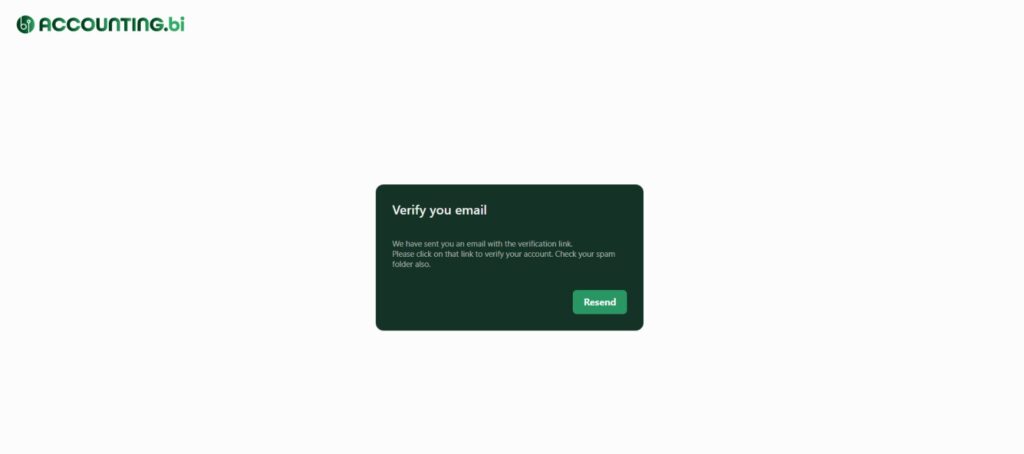
Next, you'll see a notification popup requesting you to verify your email address. Please click on the link on your email to verify your account. Be sure to check your spam folder also.
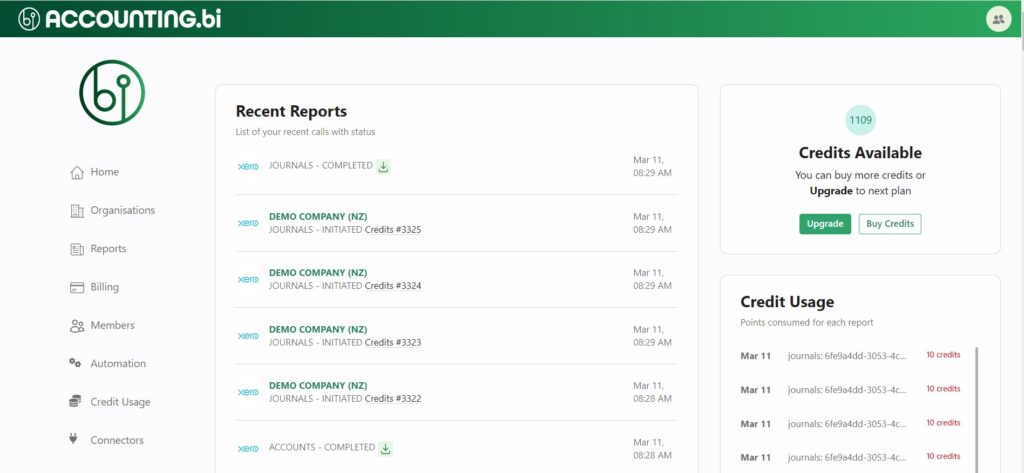
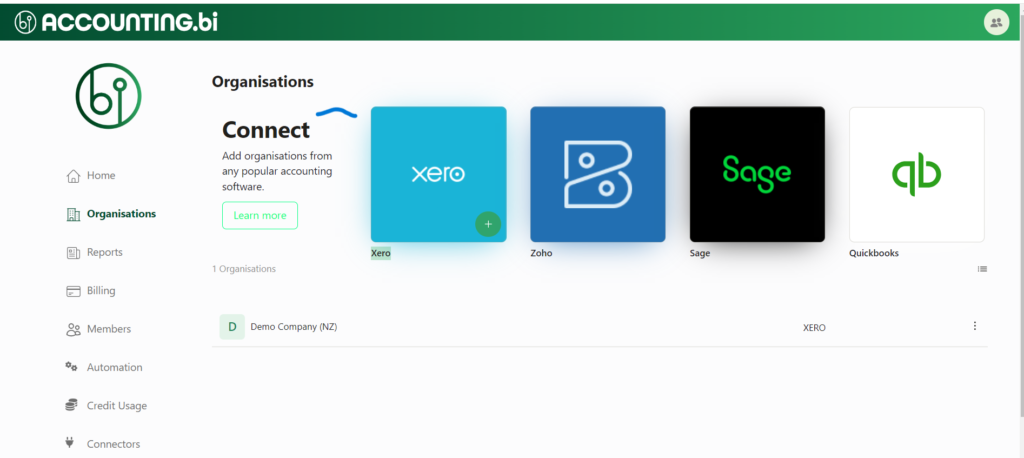
Once logged in, locate the tab labelled "Organizations" on the main dashboard.

Within the Organizations tab, find the option to connect with Xero and click on it.
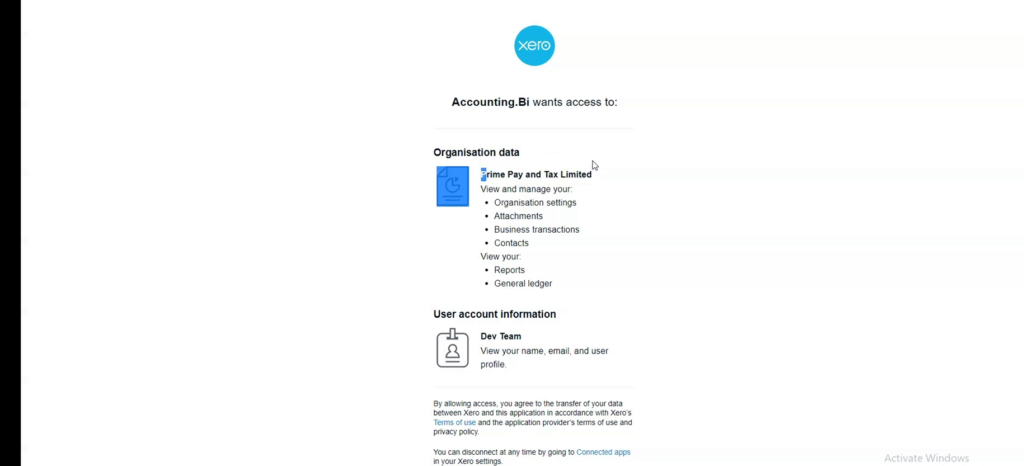
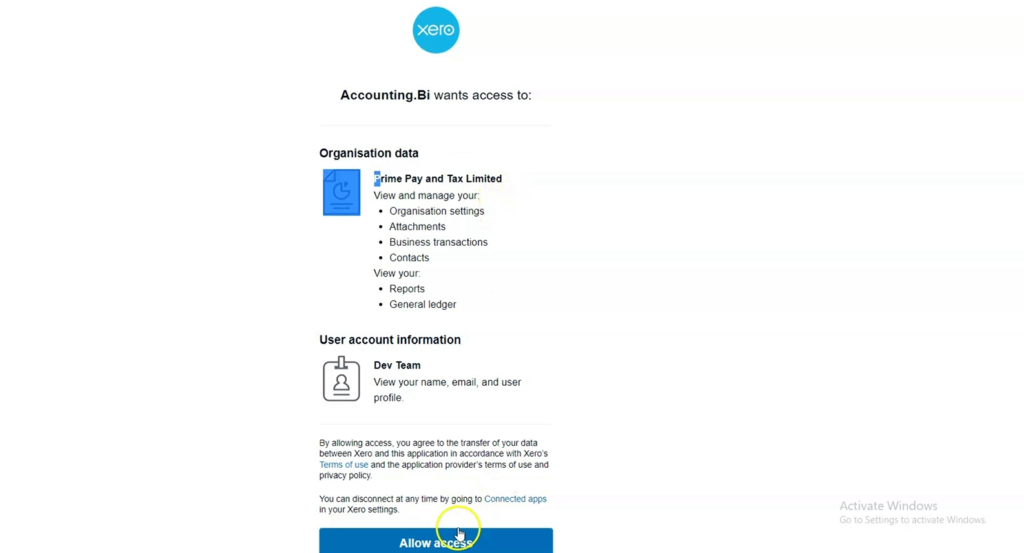
Enter your Xero username and password in the designated fields. This will initiate Xero's two-step verification process if you have it enabled (like step 4 in method 1). Once verified, click "Allow access" to grant AccountingBi permission to your Xero data.
Once you click "Allow access," your Xero organization will be successfully added to your AccountingBi account. You'll now be able to access and work with your Xero data within AccountingBi.
If you have problems connecting your Xero account to AccountingBi, please get in touch with our experts for support.